Table of Contents
Effective management of firewalls plays a crucial role in ensuring network security. Check Point Firewall is a powerful and flexible solution for this purpose. In this article, I will explain how to add a network feed in Check Point Firewall step by step. I will indicate where you can insert screenshots to make the guide more comprehensive and user-friendly.
Step 1: Check Point Log in to SmartConsole
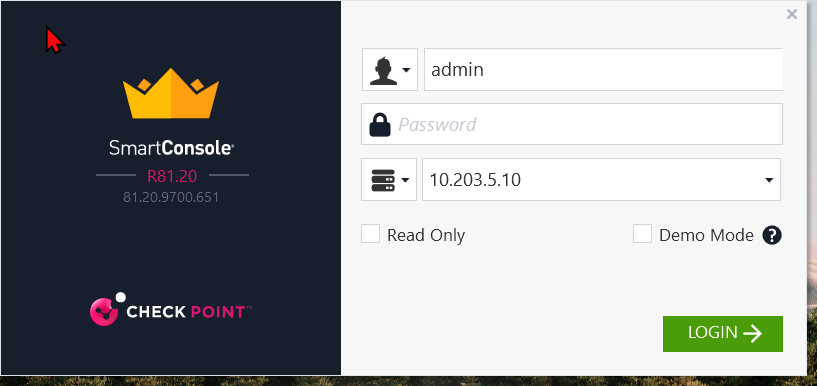
First, you need to log in to Check Point SmartConsole. Use your username and password to sign in.
Step 2: Navigate to Security Policies
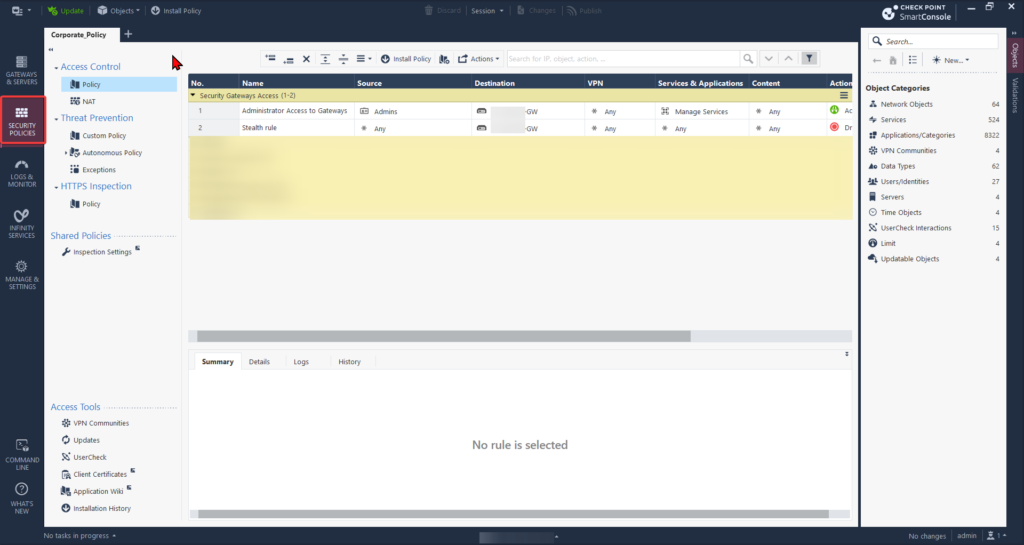
After logging in, click on the “Security Policies” option from the main menu. This menu allows you to manage your network security policies.
Step 3: Creating a Network Feed
3.1. Go to the Objects Menu
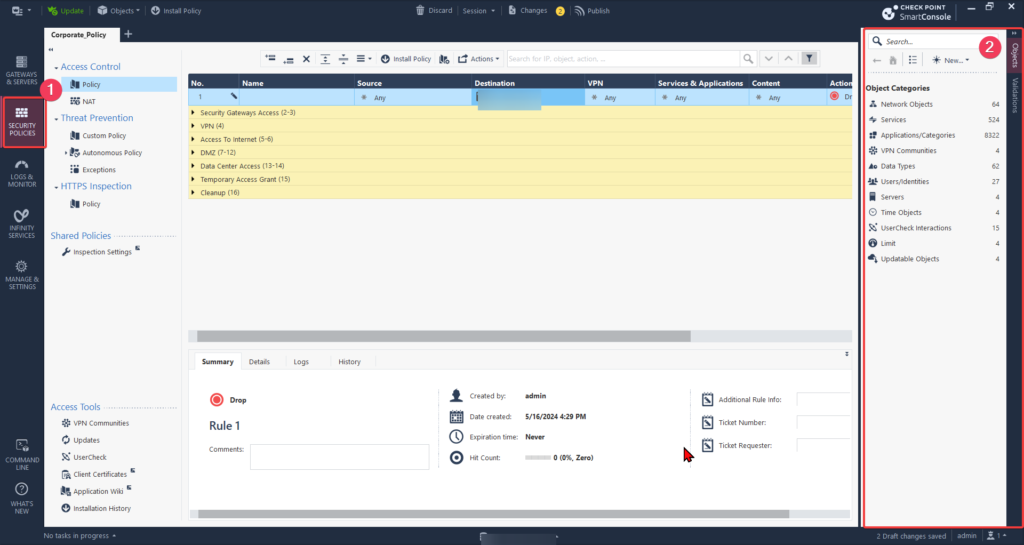
In the “Security Policies” menu, click on the “Objects” tab located on the right side navigation panel. This tab allows you to manage existing objects and add new network feeds.
3.2. Add a New Network Feed
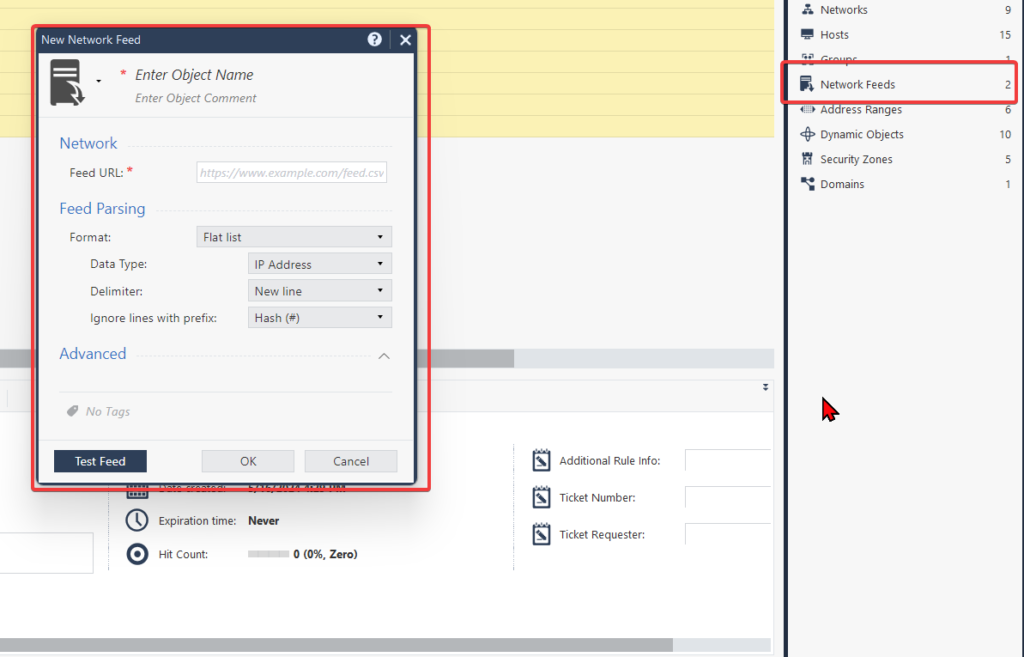
In the “Objects” tab, click the “Network Objects” button, then right click “Network Feed.” and new “Network feed”.
Step 4: Configuring Network Feed Settings
When adding a new network feed, you will need to configure specific settings. These settings include the feed’s source, update frequency, and integration with security policies.
4.1. General Information
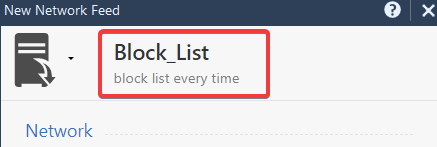
In the window that opens, enter a name and description for the network feed. This information will help you identify and manage the feed easily.
4.2. URL and Update Frequency
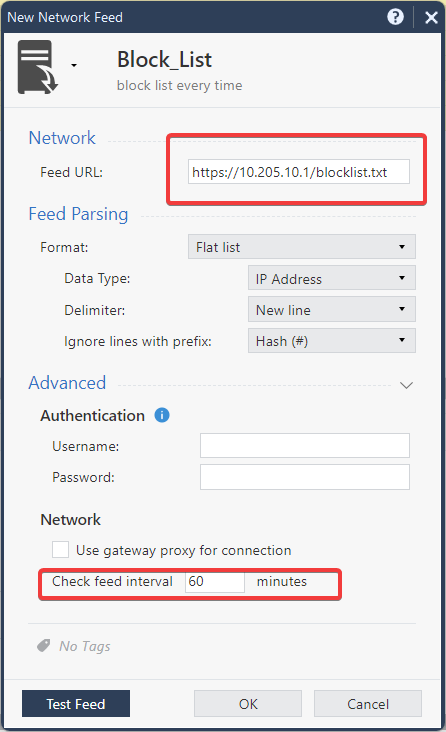
Enter the URL of the network feed and specify how often the feed should be updated. This determines how current the data in the feed will be.
4.3. Integration with Security Policies
Select which security policies the network feed should be associated with. This defines under which rules the feed will operate.

Step 5: Saving and Applying Settings
Then, to apply the changes, update your security policies and click the “Install Policy” button.
