Table of Contents
In this blog, we will add Fortigate in a topology we created on Eve-NG. Then we will add a windows 7 and connect the windows7 machine to the internet. First of all, you need to look at the topology below.
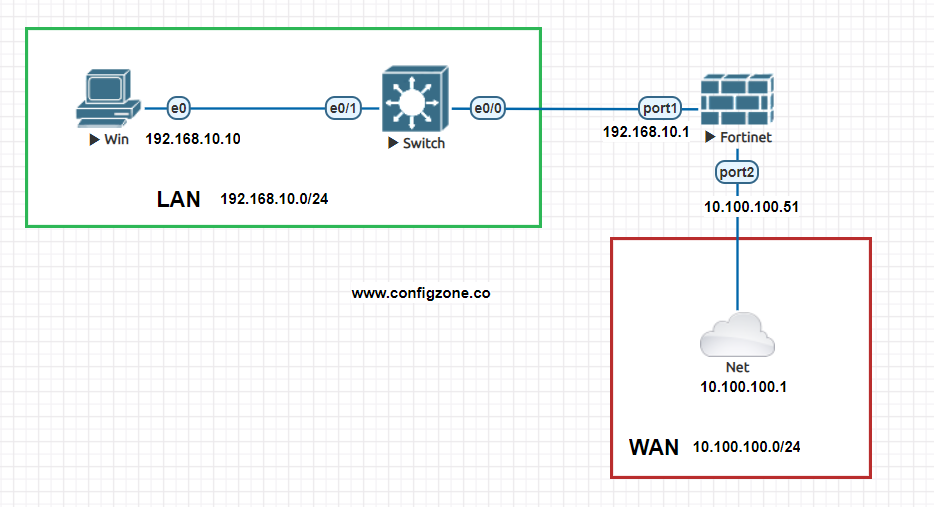
I briefly explain the above aggregation. There is a 192.168.10.0./24 network in the LAN area. Connected to this network is a Windows 7 with ip address 192.168.10.10/24. Our 192.168.10.0/24 network is connected to Fortigate’s port1 and its ip address is set to 192.168.10.1/24. Our 10.100.100.0/24 network connected to Fortigate’s port2 is set as WAN zone. Fortigate’s port2 has an ip address of 10.100.100.100.51/24
Adding Windows 7, Fortigate EVE-NG ve Switch
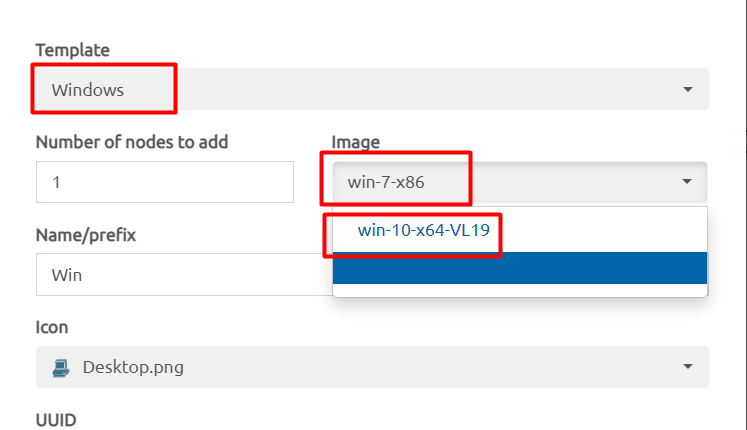
First, we add the Windows7 node to EVE-NG as shown in the picture. You can use Windows 10 or Ubuntu if you want.
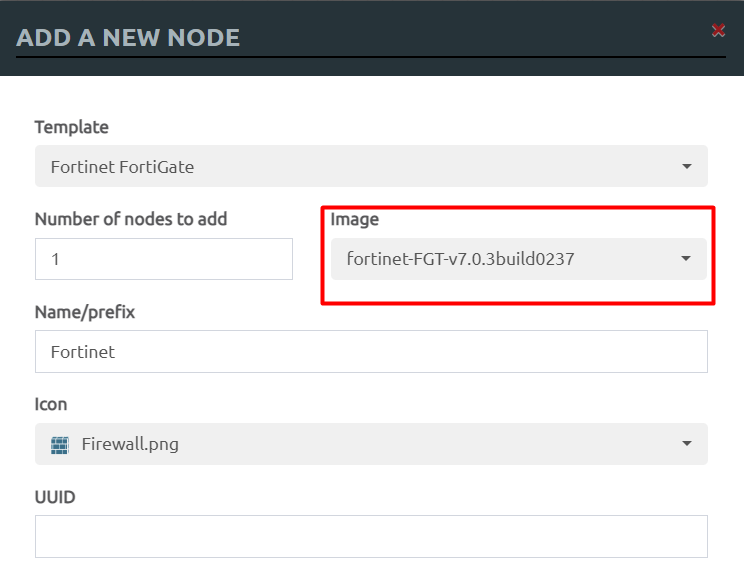
In this section, we add the Fortigate node. In order to add these nodes, you must have previously installed qemo files in EVE-NG. I may write a blog about EVE-NG installation and node addition processes in the future.
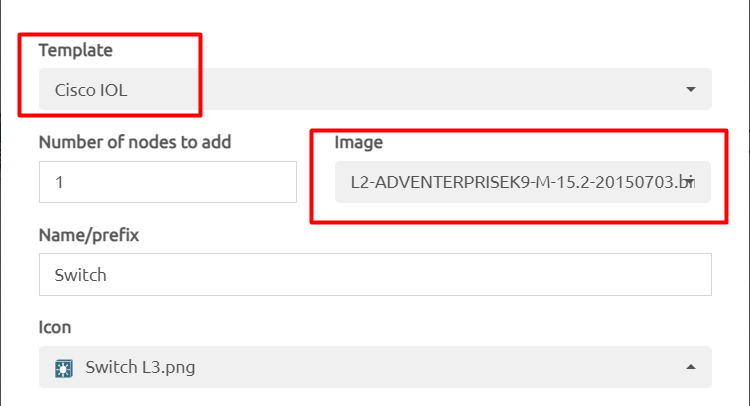
To connect Windows 7 to Fortigate, we put a Cisco switch between Windows7 and Fortigate.
In the next step we will give an ip address to Fortigate Port2. Before this step we starts all nodes.
Setting ip address to Fortigate Port2
First we click on Fortigate and after clicking we open it with putty. After opening, we enter EVE-NG qemo Fortigagte username admin password as Default. So there is no password. Direct Enter. Then it asks us to set an admin password. Let’s set the password.

After setting the password, the first thing we do is to check if there is an ip configuration on the interfaces. Let’s check with this command.
show system interface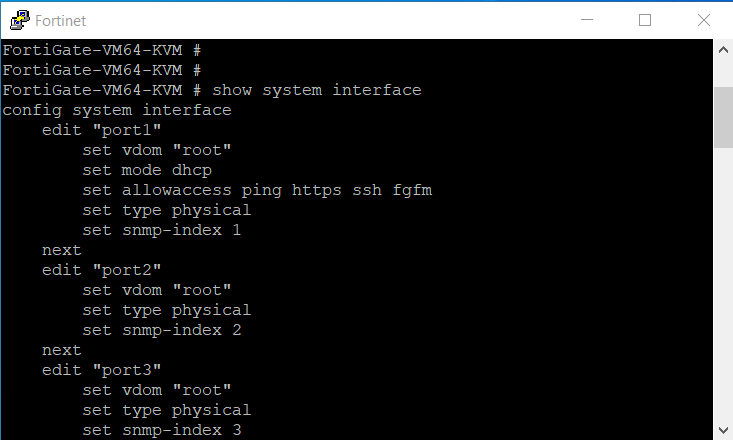
We have checked the ip addresses on the ports. Now we will give ip address to port2.
config system interface
edit port2
set mode static
set ip 10.100.100.51 255.255.255.0
set allowaccess ping http https
end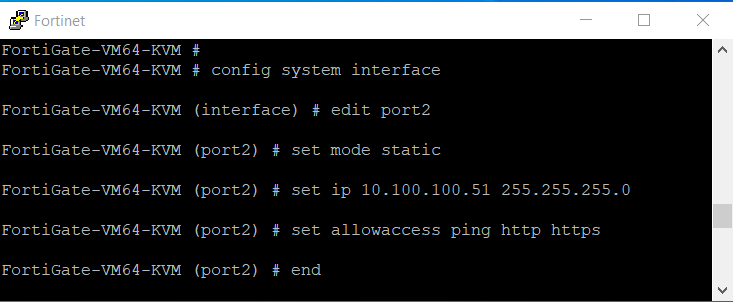
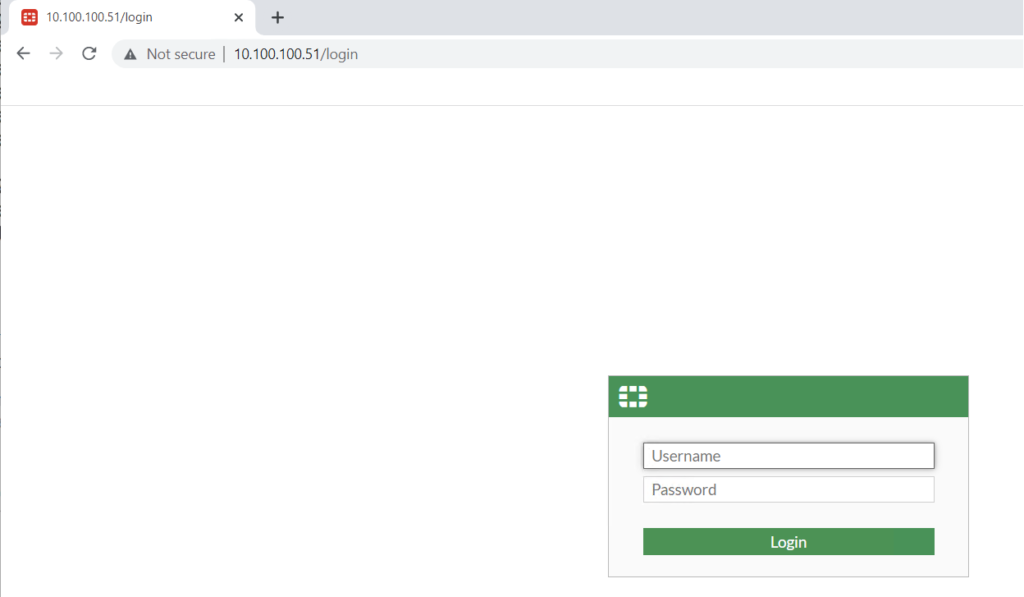
Now port2 interface is on the same network as 10.100.100.0/24 with eve-ng installed. When we type http:10.100.100.100.51/login from our computer’s browser, the login screen will appear as below.
Setting the port for LAN and setting the WAN
After this stage, we will adjust the settings of port1 and assign roles to port2 from here. First select network>interfaces from the left menu. We select port1 from the menu that opens and edit it. We must enter all the information completely as I show in the picture below. If you set the ip addresses differently at first. You should set this information according to the ip addresses you set yourself.
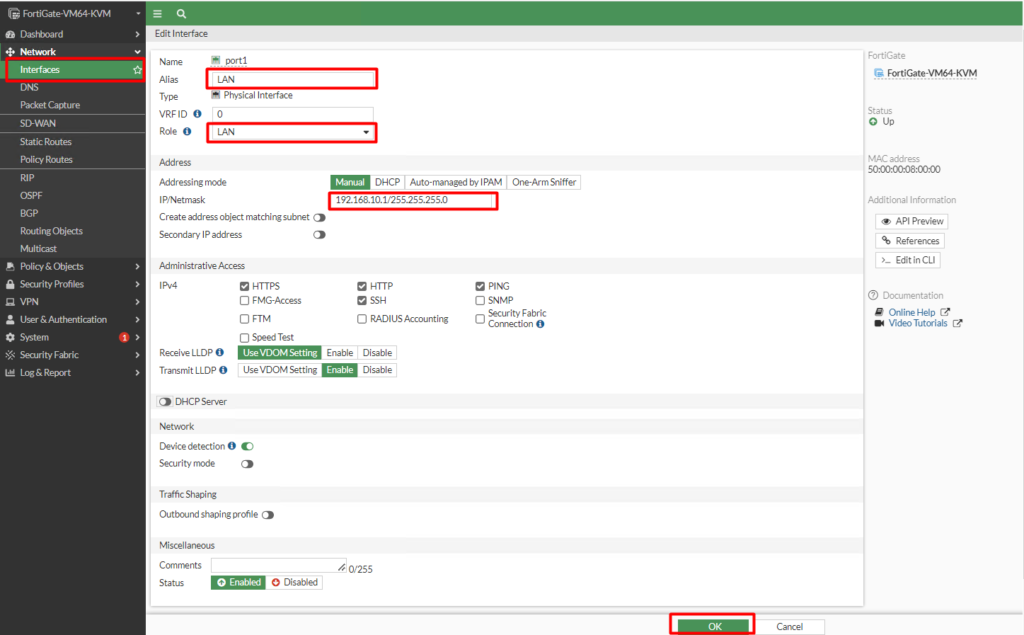
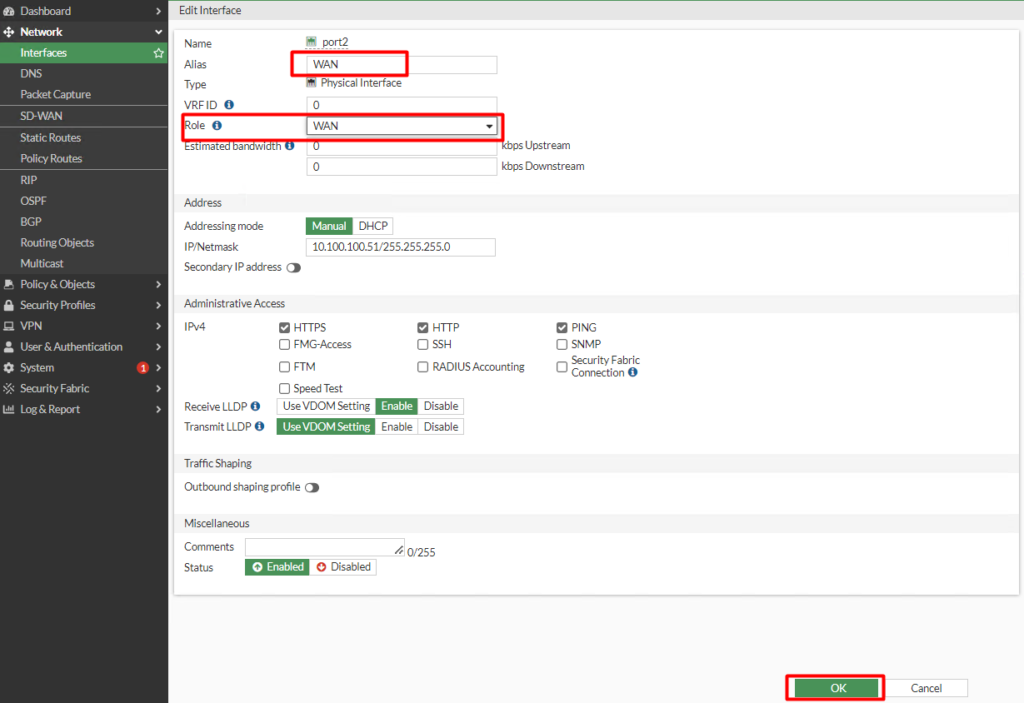
Then select port2 from the same menu. After selecting it you will see the ip address. We have already set these with cli. In this step we will only add alias and role. You can enter by checking as in the picture.
Setting IP addresses Windows 7
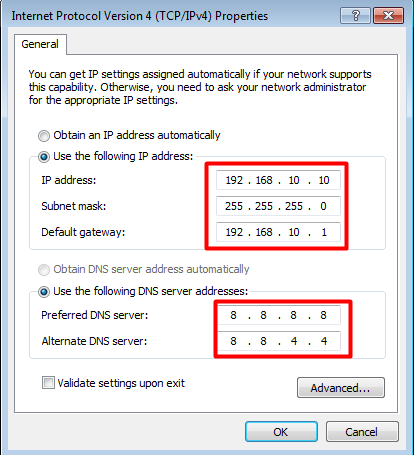
In this step we will boot Windows 7 from the EVE-NG web interface. Then we will set the ip address. After setting the ip address, we will ping the default gateway 192.168.10.1 ip. We defined this ip above.
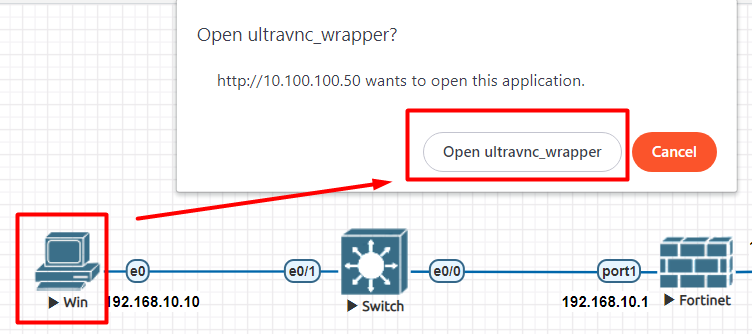
From the EVE-NG web interface we click on Windows 7 and open it with VNC.
We set the Windows 7 ip address in the network settings as shown in the picture.
After setting the ip address, we ping the default gateway.
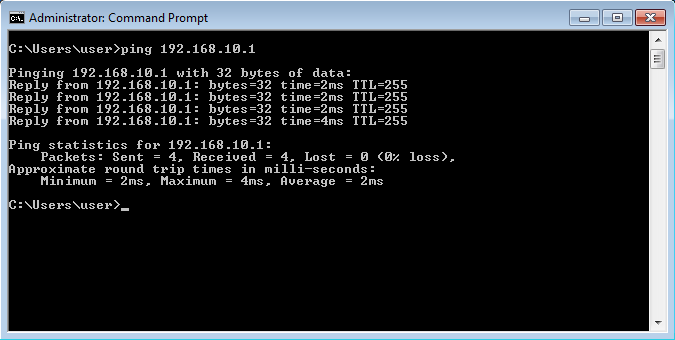
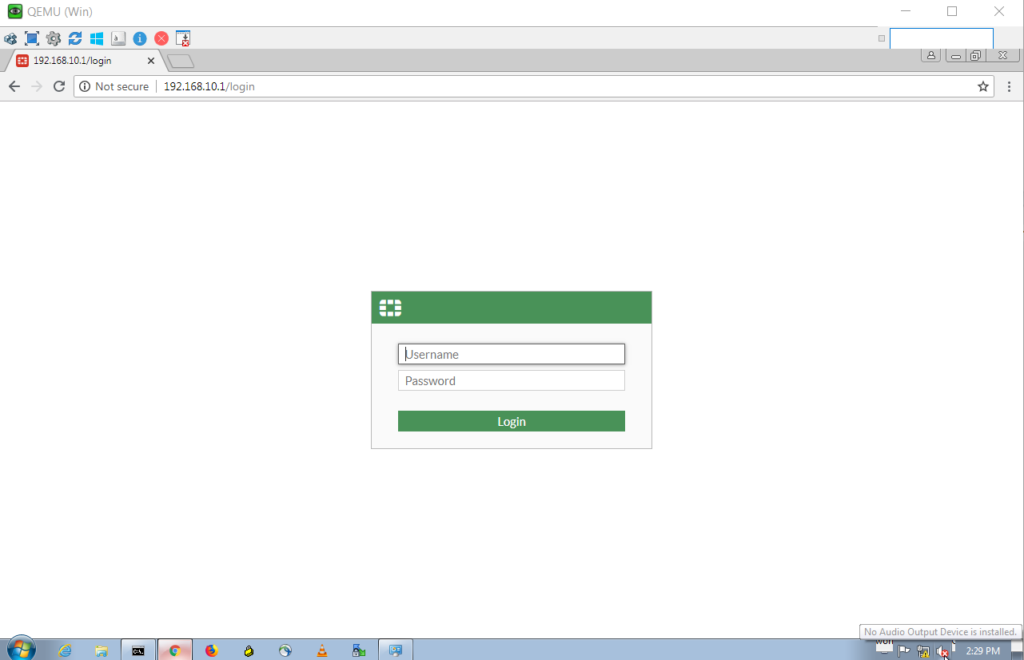
Pinging successfully. The next step is to access Fortigate from the web interface with http://192.168.10.1/login. A screen like the one below will appear.
Writing rules and accessing the internet
Now we can access the fortigate web interface both from our computer and from windows 7 that we have installed on EVE-NG. In this step we will write a rule and grant access to the internet.
Note: port2 is the WAN port in a real topology, i.e. the port facing the outside world. We can never open it for management access. We even close it to ping.
Note2: We never write an all>all rule in a real topology.

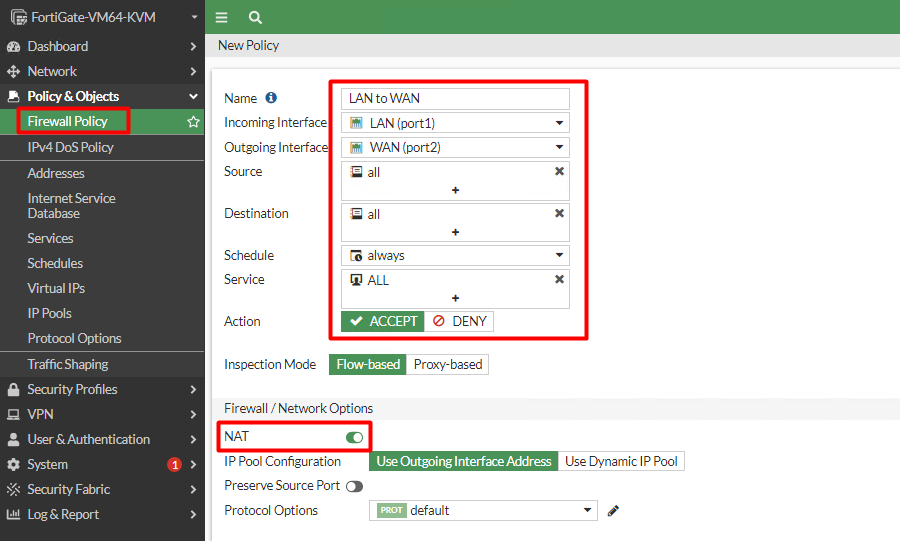
After writing the rule and clicking OK, we should have written a rule like the one below.

The rule writing process is complete.
Testing the internet connection.
After completing all the steps I have explained step by step above, our windows7 device should be accessing the internet.
First, we ping the 8.8.8.8.8 dns address.
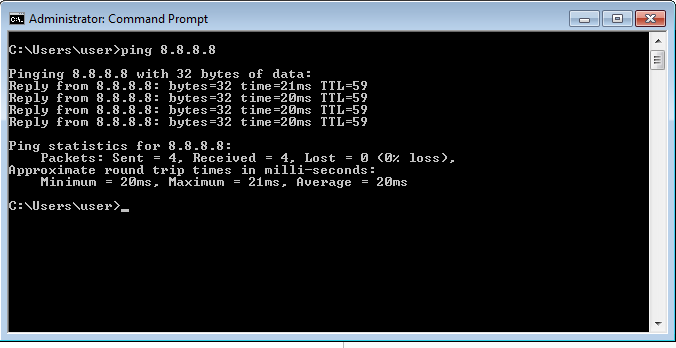
As you can see, our Windows 7 device can ping the 8.8.8.8.8 google DNS address. Now let’s open the chrome browser and do any search.
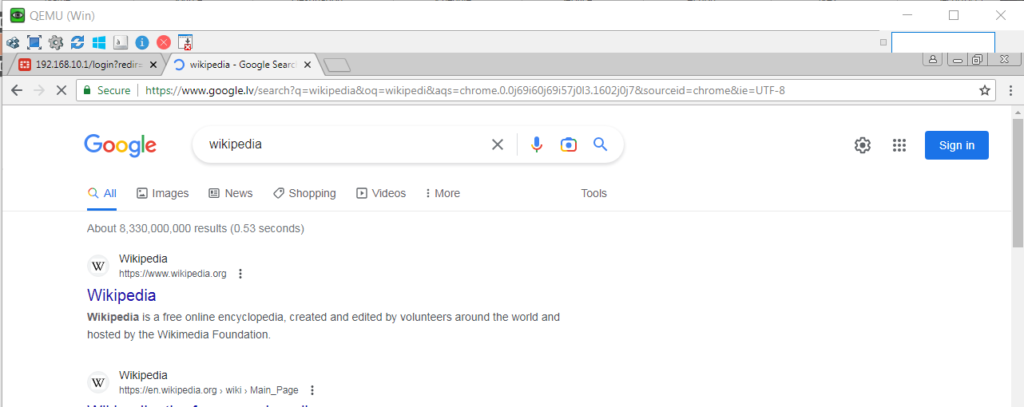
The search is also complete. After this step you can grow the community yourself. You can do NAT operations by creating a DMZ zone and adding a Server here. I will be publishing the video of this document on youtube shortly.
One thought on “Fortigate EVE-NG Installation and Configuration”